Once you learn the basic stitches and techniques in crochet, you might want to start collecting techniques to make your crochet look more clean and professional. Even if you are not interested in selling your crochet pieces, are only crocheting for yourself or family, or simply for the joy that crochet brings, learning new techniques and making your crochet look more polished will not only give you more expertise as a crocheter, but allow you to tackle more challenging projects as well. The more you grow your skills with simple techniques, the easier it is to create large, beautiful pieces that a mere beginner would likely not hook up.
A standing stitch is a stitch is a stitch you can use when changing colours in the round, or whenever it might be appropriate to use instead of chaining. I like it because it does make the overall look of your piece more clean. I have to be honest, now that I am an experienced crocheter, it’s easy for me to see how pieces were made and there is lot about crocheting in the round that can stand out to the experienced eye. I don’t like seeing the variation in my round pieces so learning a technique like a standing stitch allows you to avoid the traditional ways of joining and colour changing that can start to look messy.
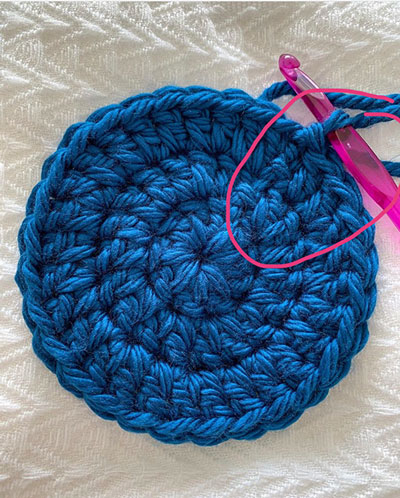
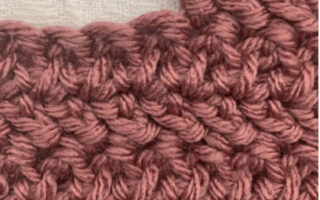
For instance, in the photo above, do you see where the round ends and the new one begins? Now in some projects, this might not matter to you. It didn’t for the project pictured. However, in other projects, seeing this clear join line where you slip stitch to join the round, and then chain to create the next stitch in the new round. You’ll notice in the photo below that you don’t see the same join.
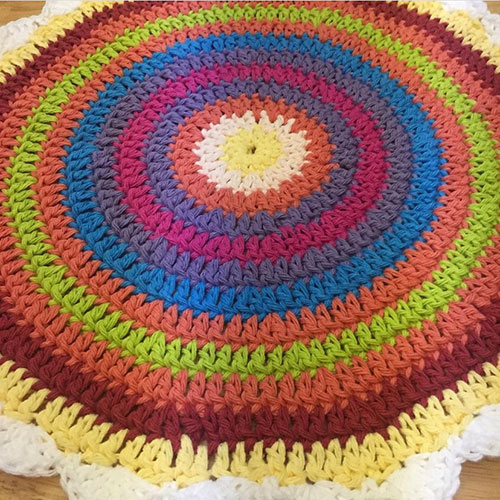
That’s because I used the standing stitch.
So how does one make a standing stitch? It isn’t too hard. Basically, you hold the yarn tucked between your ring and pinky finger, and then yarn over the back of your crochet hook as you normally would. Insert the hook into your stitch and complete your stitch. Keep hold of the yarn in your hand still and complete the next stitch. At this point, you can let it go and the standing stitch is in place. The video below does a great job in showing you how to do this.
Pretty amazing in my opinion! This is just one technique that you can use when crocheting in the round to make your work look neater. I also some other tricks to join my rounds when I am not colour changing as I was in the photo above.
Pro Tip: If you crochet tightly, like me, lighten up on your tension. Having tighter tension can make a technique like this a little more tricky, so bear that in mind if you know your tension is on the tight side.
I’ve used this technique for creating hair scrunchies as well, and that is the other great thing about tricks like this: once you know them, you find yourself using them in unexpected ways that just make sense but that others might not think to do! And then, you can share that with others as well. I learned this technique several years ago now, and while I don’t use it a lot, it’s still a handy one to have in my skill kit as when I do want to get back to crocheting pieces in the round that require colour changes–perhaps granny squares, or decorative mandalas or dolies–I know I use this technique to make my projects even prettier–and hey, we all want to be pretty in crochet right?
Happy crocheting everyone! Be sure to subscribe to the newsletter to stay in the loop.